
While we love the square armhole construction of the Tabula Rasa Jacket and its progeny, it can be a challenge when working with fabric that has plaids or checks, or some other strong directional motif. The square armhole method creates four side seams around the body of the garment that could require matching the plaid or check. So, what do we do? Avoid the matching altogether with a couple of strategies.
Add a Second Fabric
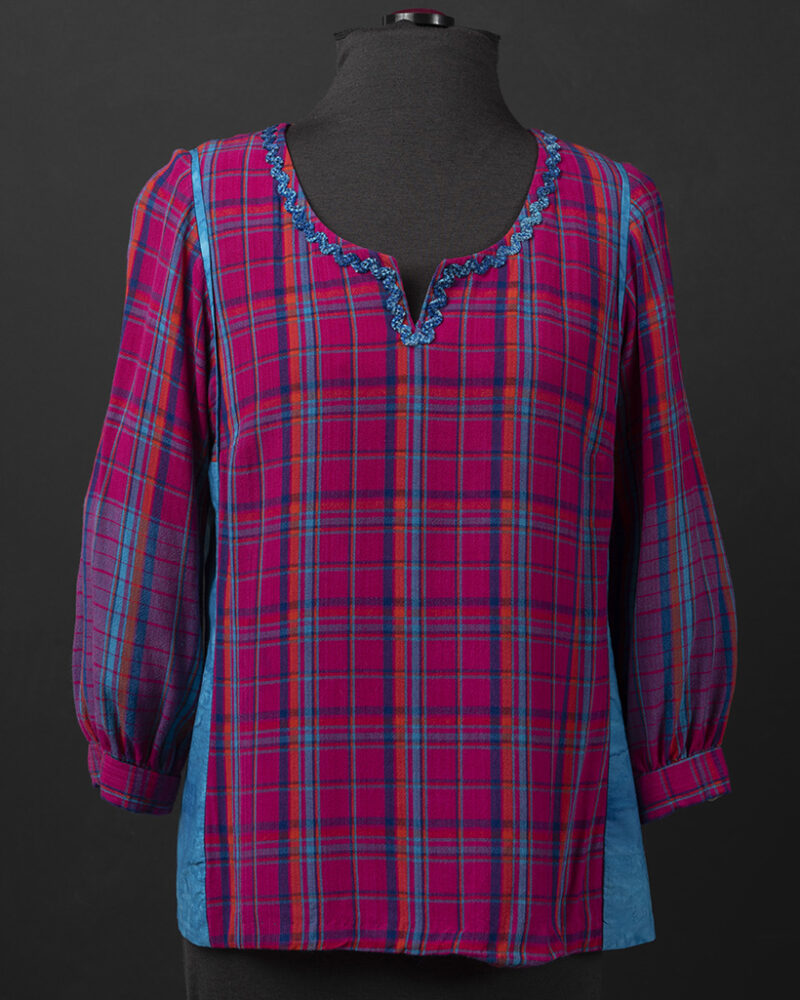
One strategy is to incorporate a different fabric in the side panel, which can be a contrasting or coordinating solid, semi solid, or print fabric. You can see a few examples of solid sides in this brown Plaid Wool Jacket and the Notched Carpe Diem Tunic (which appeared in this month’s article in Threads Magazine). Bobbie’s Shirt Jacket shows a coordinating fabric used in the side panel. Remember to follow our rule of thumb to repeat that fabric in 3 elements of the garment to help them blend. Other locations for the secondary fabric include cuffs, collars, bands, piping and pockets.

Turn Plaid on the Bias
A second strategy is to turn the plaid or check on the bias; it eliminates the need to match across the seams and adds visual interest. You can see samples of the side panels cut on the bias in the Plaid Flannel Shacket and this blue blaid flannel shirt with stand-up collar, both based on Shirt Variations for the TRJ. So far I’ve not had any problem with the durability and hang of these tops.


When I do start working with the bias cut, I like to incorporate it into other elements of the garment, as you would with a contrasting fabric. The Plaid Flannel Shacket features bias cut cuff facings and undercollar, both supported with fusible interfacing. Have a closer look at these details in the post Styling with Stylemaker Fabrics. In the blue plaid shirt, the bias cut is likewise echoed in the stand-up collar and shaped cuffs.
Going a step further, I added a bias cut back yoke to this black and white check flannel shirt, then repeated the bias on the pockets and cuffs. Get a close-up look at the features of this Jean Jacket Variation in the post Cozy Flannel Shirt. The red and black Cozy Flannel Tunic features both a front and back yoke cut on the bias in addition to the side panels. See more details of this Carpe Diem Tunic, including the collar construction, in the post Flannel Tunic for Cold Days.


Support the Bias
I like to support a bias yoke with a full facing under the shirt back and shoulders where it gets the hardest wear. Cut a second back yoke that will serve as the facing, cutting on the grain if possible for stability. I’ve mocked up a sample of this construction process with a spare piece of cotton plaid tartan to illustrate.


Baste the outer yoke to the lower back right sides together. Pin the facing yoke with its right side against the wrong side of the lower back. Sew through all 3 layers, trim the seam allowances, and press the yokes up into place.
Both shoulder seams can then be finished in one unit as usual and pressed open. Or, for a very tidy finish, sew the front and outer back yokes together at the shoulders leaving the back facing free. Press those seam allowances toward the back. Turn under the seam allowance of the back facing at the shoulders and hand or top stitch into place covering the seam allowances. This technique is visible in my Cozy Flannel Tunic because there wasn’t enough of the black and red flannel to cut the second yoke, so I used a different piece of leftover fabric.


Plan the Layout and Matching Points


If you are working with pattern pieces that are cut on the fold, such as a back yoke or collar, take the time to trace off a full pattern for cutting on the bias so you can completely control the orientation and placement of the motif. A tru-grid pellon copy of your pattern is very useful for this, allowing you to use the grainlines and HBLs to precisely place the motifs or plaid and to see where the design will join up with its neighboring piece. Read all about using pellon patterns to plan your garments in Grid Pellon Particulars.
What are your tricks for working with challenging directional fabrics? We’d love to hear about them.
Happy Sewing, Carrie
The post Sewing with Plaids and Checks appeared first on Fit For Art Patterns.


